The first design was very simple with a basic head stock using bronze drill bushings. A solid 3/4" piece of drill rod with a 1" 8-tpi threaded rod attached to the end with a recessed screw.
The back end had a bushing held on by grub screws that had an internal bushing to receive various sizes of threaded rod that were turned down to a common 3/8" diameter for the bushing to clamp onto. The threaded rod had a mating nut that was captured in a wood disk that attached to the back of the head stock. As you turned the rear handle, the spindle nose would move forward according to the screw pitch cutting the desired thread.
The head stock was mounted on a cross slide to provide thread depth of cut. Thread cuts were achieved by a B&D router with 3/8" collet mounted with a double angle 60 degree high speed cutting bit. The setup worked surprisingly well. The only draw back was that the spindle nose was not accurately aligned to the spindle shaft. It was off as much as 0.015" which produced a noticeable offset between the lid and the body.
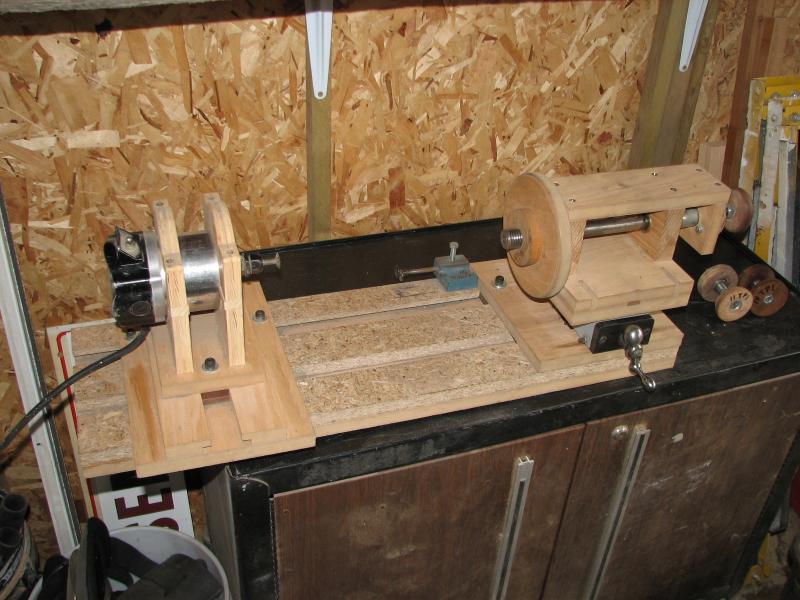
The next design change was to go with a different type of head stock. I used some plumbing pipe to make a post to which the spindle was mounted. The spindle was made from 7/8" diameter steel rod held in place with bronze bushings. The spindle nose was still 1" 8-tpi, but was attached to the spindle shaft with a spider to allow or precise centering. I was able to get the run out to just a few thou, which provided for a much better offset between the lid and body.
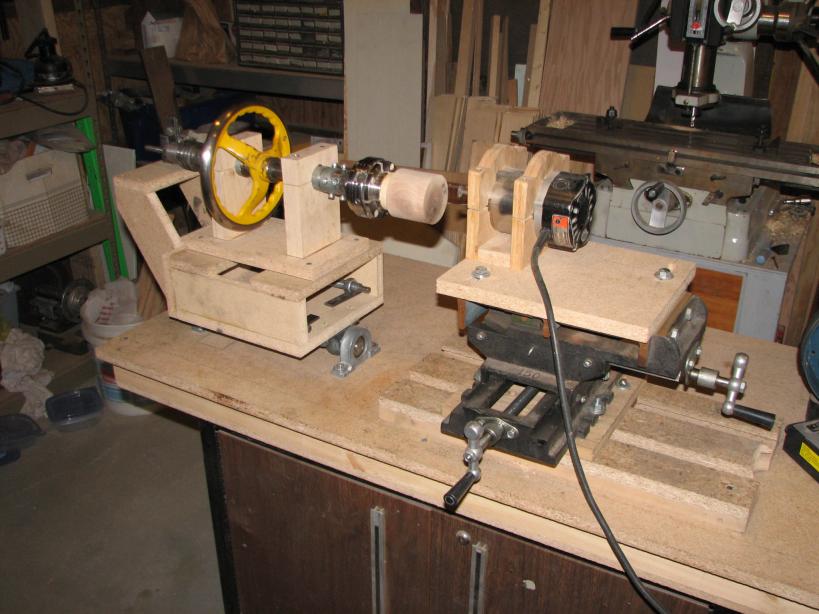
Moving along to the next evolution, I used the spindle and bearings from the previous design moving the hand wheel to the center which made for very nice control during the actual threading process. I also added a pivot point to the bottom of the unit to prepare for the eventual move to have full rose engine capabilities. I moved the depth adjustment to the cutter head by mounting it to a cross slide vise. I used this set up for many years and cut a lot of threads with it.
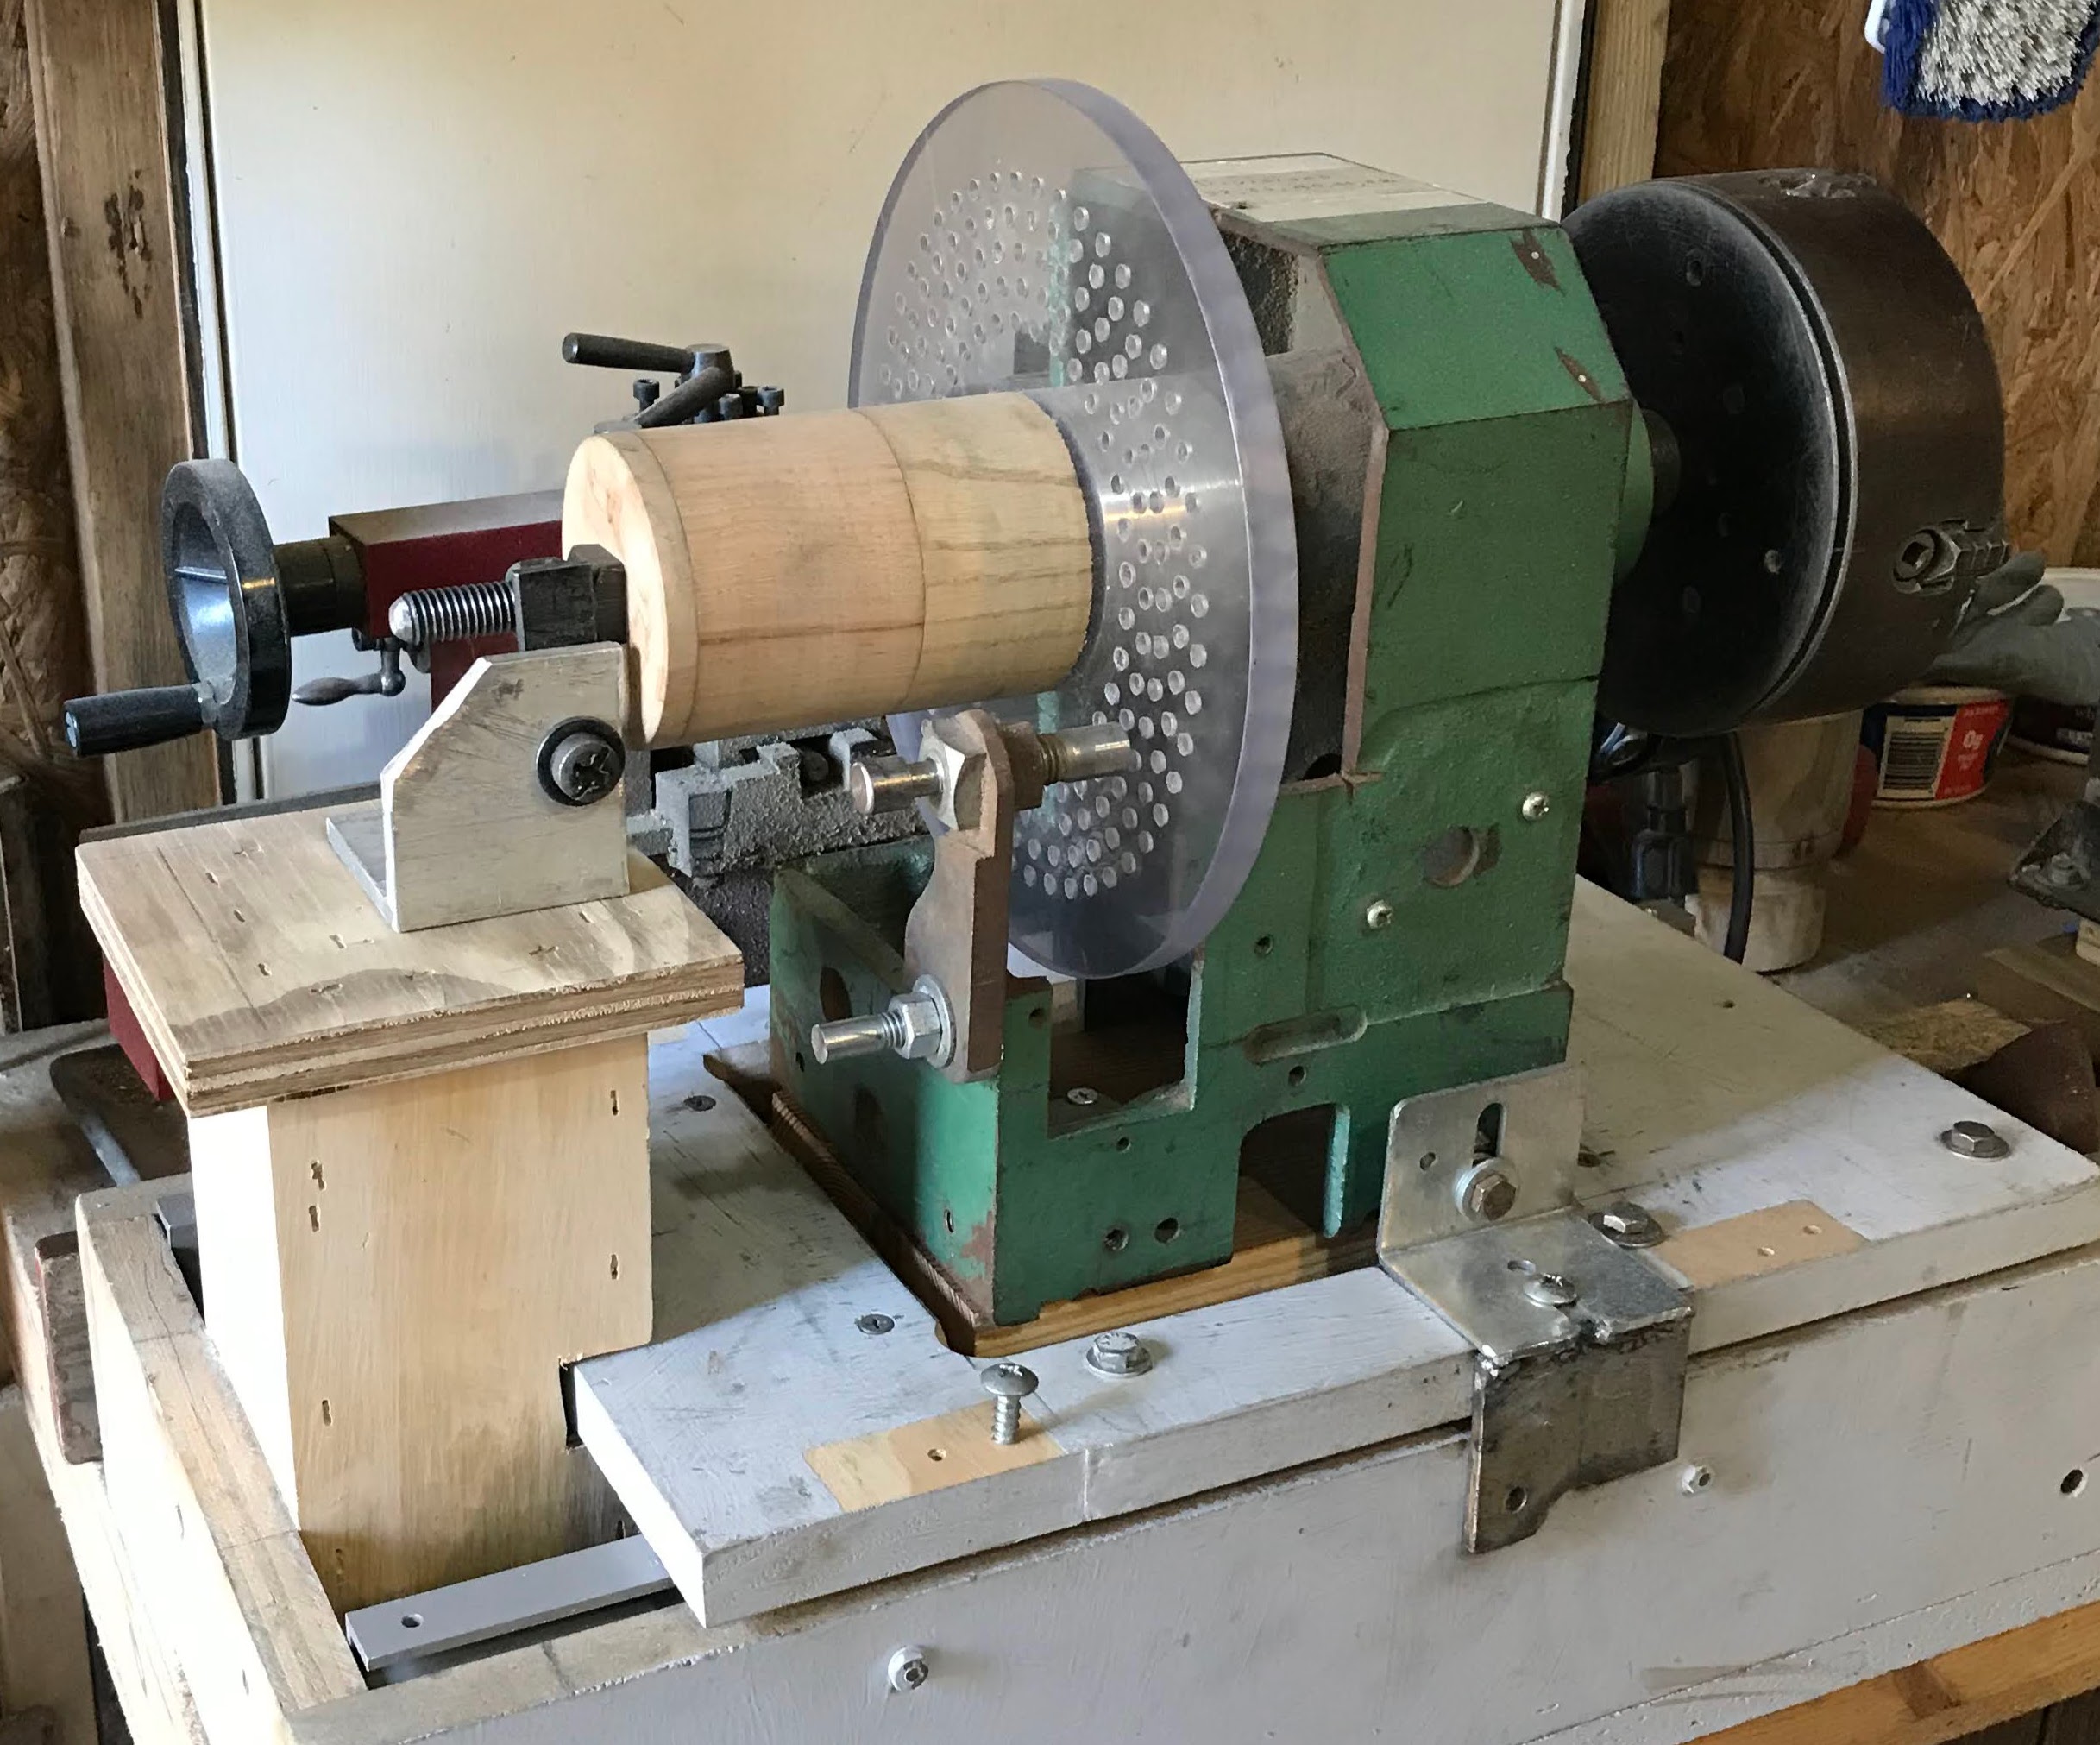
And that brings us to the current manifestation shown above. The heart of the unit is a head stock from a Harbor Freight Central Machinery Lathe. The lathe bed was donated to my homemade lathe, so had the head stock laying around to find a use for. The slide portion is accomplished using a set of aluminum linear slides. It is a bit of overkill since the slides have over 20" of travel, the average travel for threading is less than one inch.
I used the original arbor and bushings from the first jig to provide the pivot for the head stock, which is mounted at a 12" radius. The index wheel on the back of the head stock provides a means to rotate the spindle while threading.
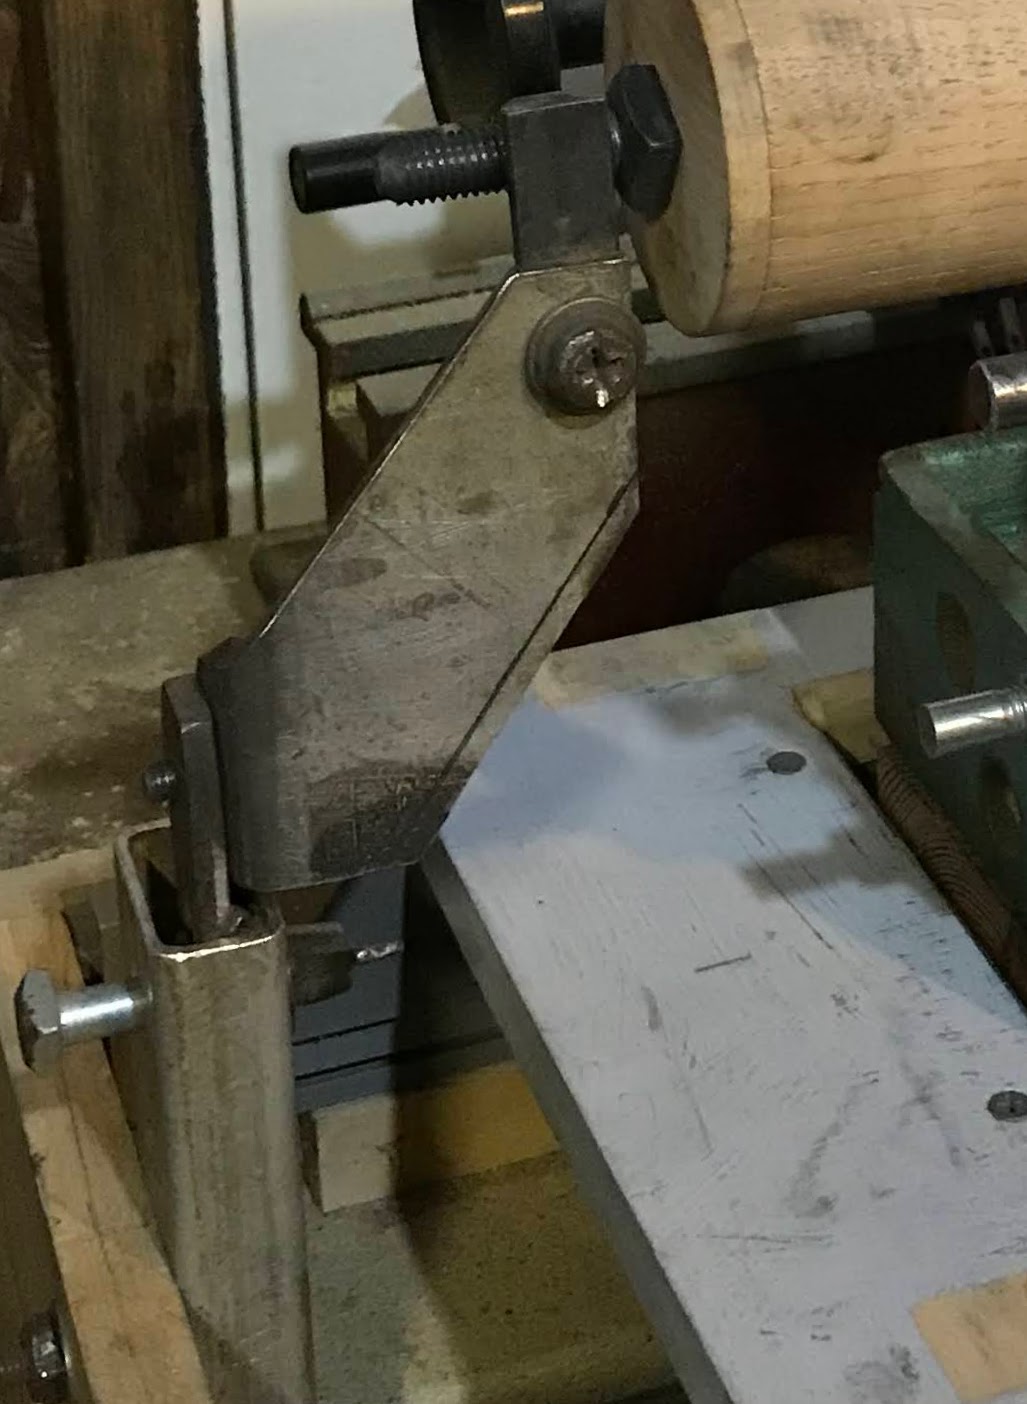
I started out with a metal support for the thread follower at the rear of the spindle. That turned out to have to much play, so I switched up to a rock solid post mounted to the body of the machine. A six inch 4 jaw chuck is used as a holding fixture. Using a dial indicator it is possible to center items with a high degree of accuracy. The chuck also adds a considerable amount of mass which helps to dampen any vibrations from the cutter and makes for a very smooth cut.
I retired the router, which even with speed control was spinning in the 10,000 plus rpm range. I'm now using the motor from our defunct dishwasher which provides a nice speed range around 3,500 rpm. The cutter is mounted to a chuck with is mounted to the motor using a spider to help give it a minimum of run out.
Next up will be to work on some rosettes to try out the rose engine capabilities.